Rest api

Sergey Yatsenko
Sr. Director, Sitecore MVP
Publishing Content from Sitecore Content Hub to Google Blogger
Introduction
In this post, I outline the steps I took to enable blog posts, authored and approved in Content Hub to be automatically published to the Google Blogger platform via its REST API.
Disclaimer
Starting with Content Hub version 3.2.2 Sitecore started blocking access to some of the libraries, including the 'System.Net.HttpWebRequest', which is essential for being able to make external calls originating in Content Hub. Upgrading Content Hub from older versions (prior to 3.2.2) will keep older scripts unrestricted.The ScriptConfiguration setting is system-owned. If you still need to enable unrestricted scripts, add or remove a permitted or blocked library, please contact your Sitecore account manager.
Introduction
Google Blogger is a free, no-thrills blogging service hosted by Google. Its blogs are generally hosted in subdomains of "blogspot.com. In this post, I outline steps I took to enable blog posts, authored and approved in Content Hub to be automatically published to the Google Blogger platform via its REST API. I chose Blogger because it's quite simple and provides a simple and reliable REST API, unlike some of the other platforms, whose APIs I found harder to work with. Blogger API specifics aside, steps outlined in this post can largely be applied in other similar integration scenarios, where Content Hub is used as a Content management platform, which, with a little effort can easily publish its content to other platforms and 3rd-parties. Another point worth mentioning is that the content can be published to many different destinations at once. Content Hub allows to define triggers that can execute multiple actions in response to a single event, including publishing to multiple destinations (e.g. once the blog is approved in Content Hub, it could simultaneously be posted to Blogger, LinkedIn, Facebook, Instagram, Twitter, etc
High-level the process of publishing content from Content Hub to other parties looks like this:
- Entity Change Event: Blog content is created or updated in Content Hub
- Trigger: when trigger conditions are met then invoke pre-defined Action
- Action: read data from an affected entity and invoke Blogger REST API call, passing entity data in the payload
- Blogger receives the call via its REST API and creates a new blog post
Setting up a new blog on Google Blogger
Blogger is owned by Google and it's fully integrated with Google account, so anybody with a Google account should already have a Blogger account as well. I recommend creating a new blog for experimental purposes in case you already have one; following are the steps to create a new blog (taken from Google Blogger documentation)
- Sign in to Blogger.
- On the left, click the Down arrow
- Click New blog.
- Enter a name for your blog.
- Click Next.
- Choose a blog address or URL.
- Click Save.
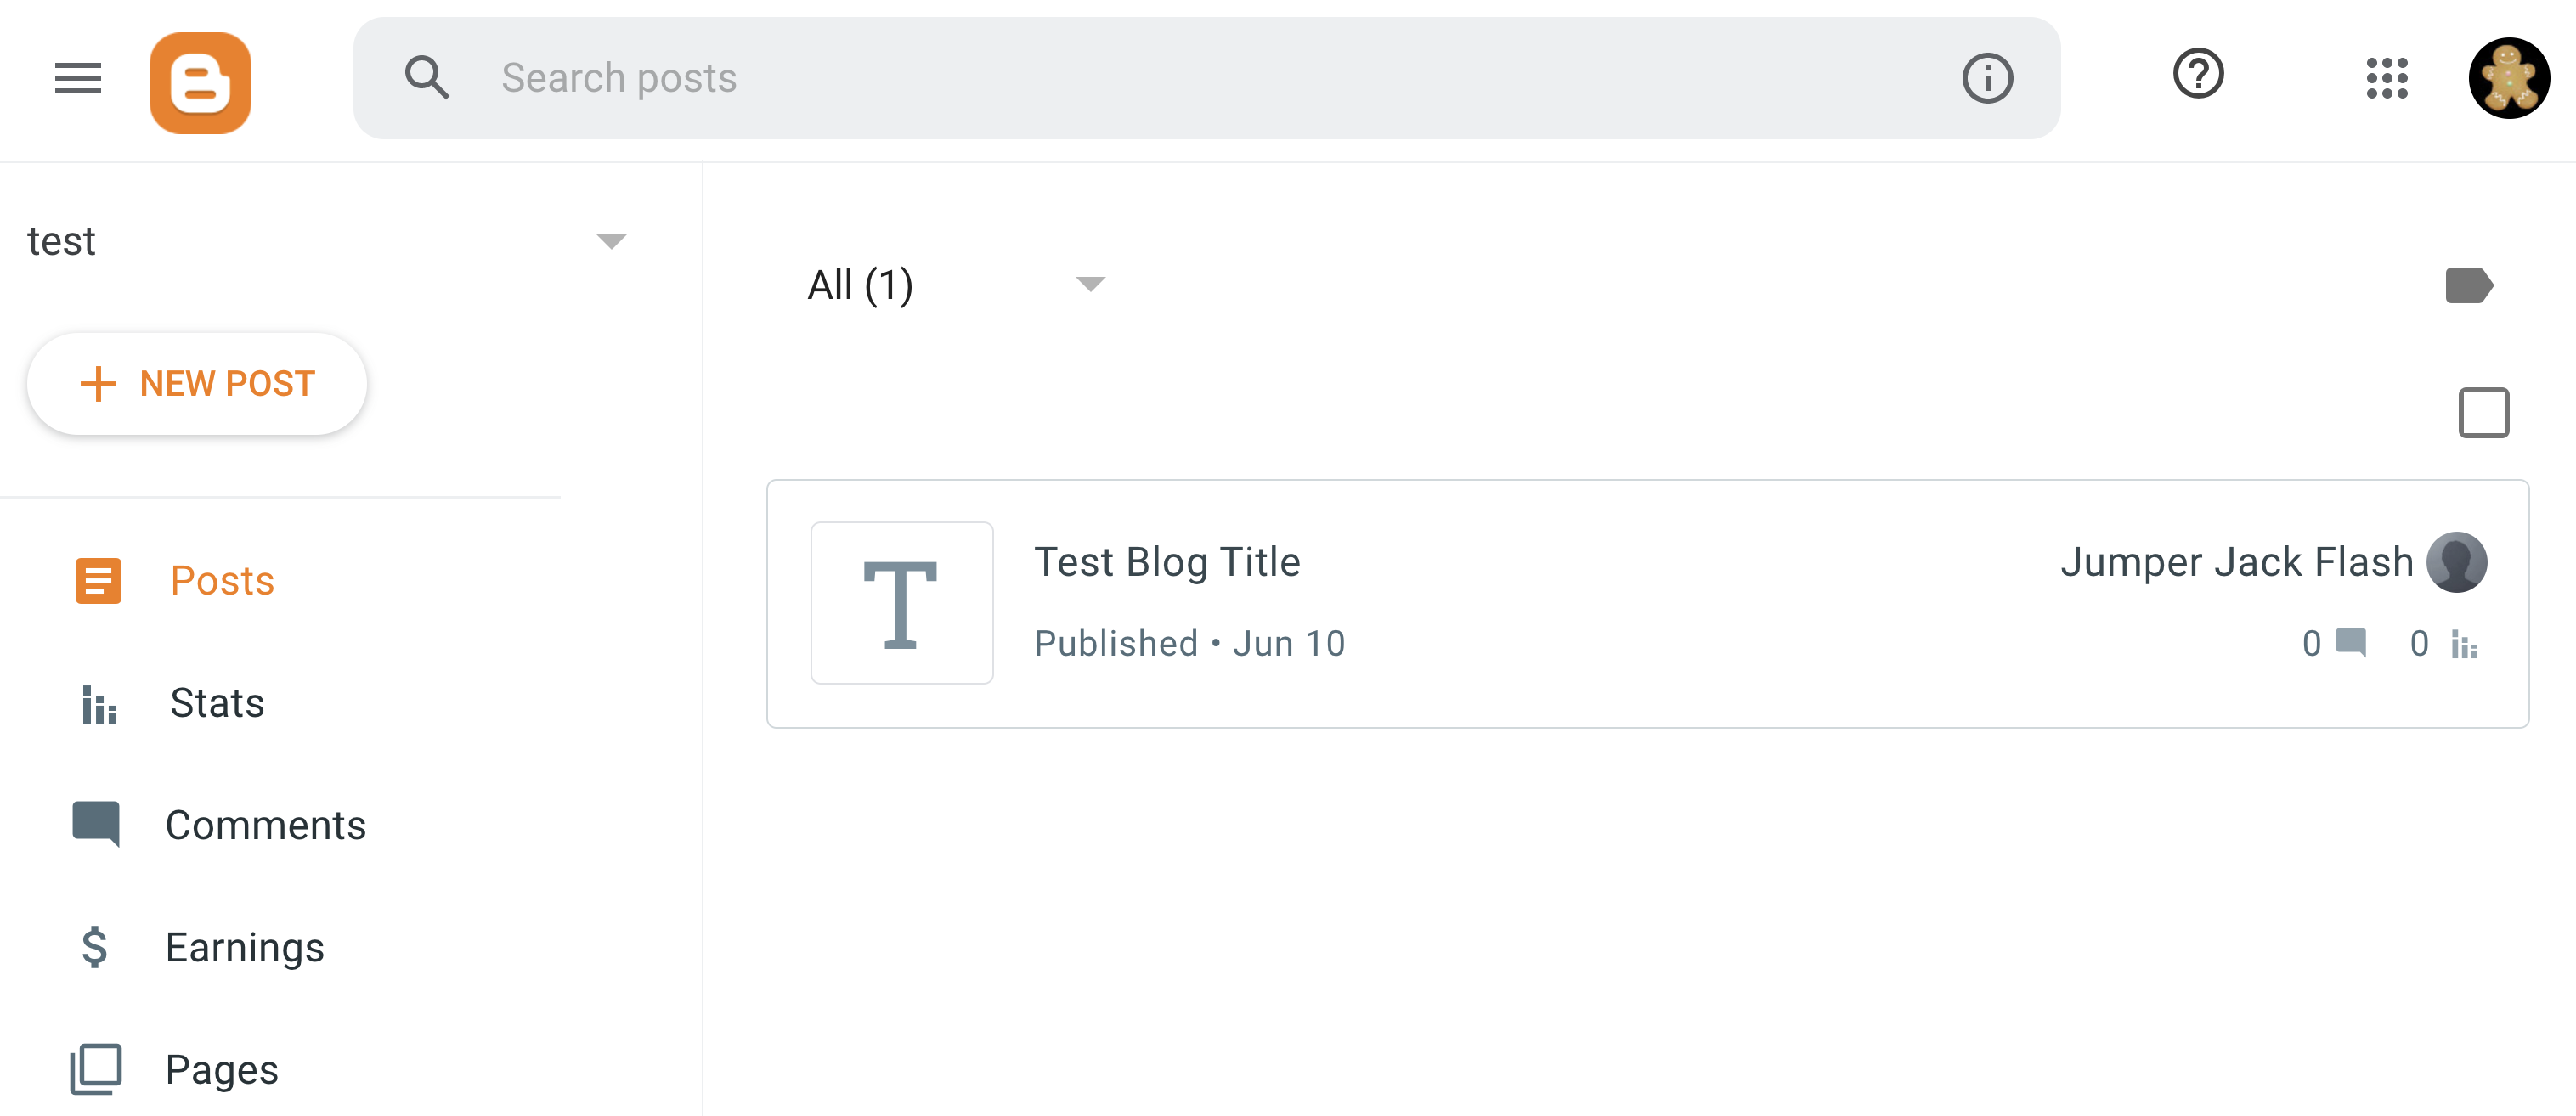
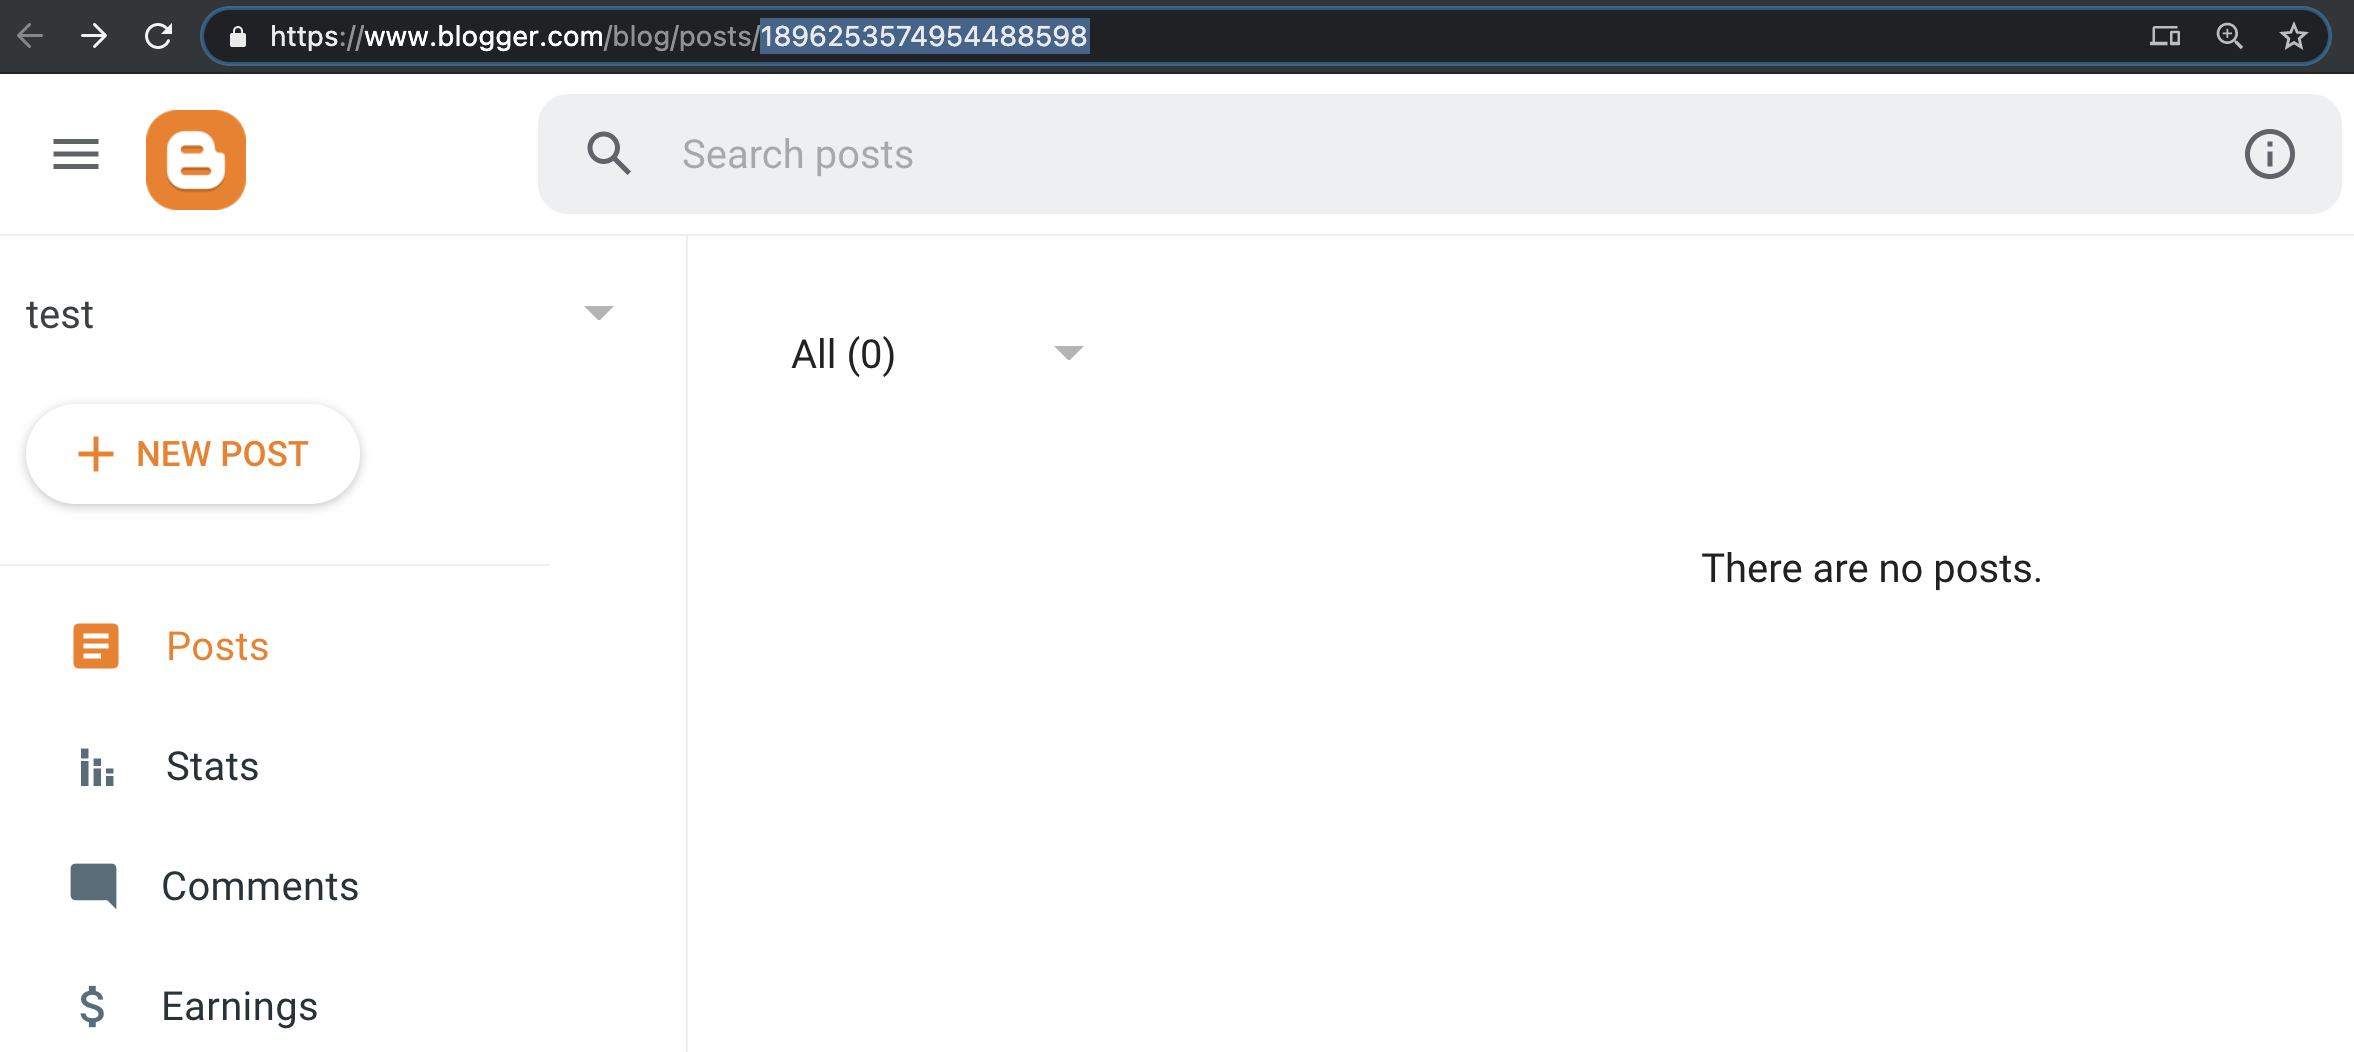
This is what it might look like in Blogger's UI. The number in the last segment of the URL is a blog ID, which will be different from the one on below screenshot for different accounts and blogs from the one on the screenshot. I will need the below ID in the following steps (your ID will be different of course)
Google Blogger API requires callers to be authenticated with an OAuth token, which in turn will require an OAuth client. Google Blogger API documentation outlines the required steps to create and configure the OAuth client. I personally found it easier to follow these steps to [create an OAuth client](create an OAuth client) and then use Postman to generate the authentication key like described in this post on StackOverflow.
Content Hub blocks: Script, Action, and Trigger
Script
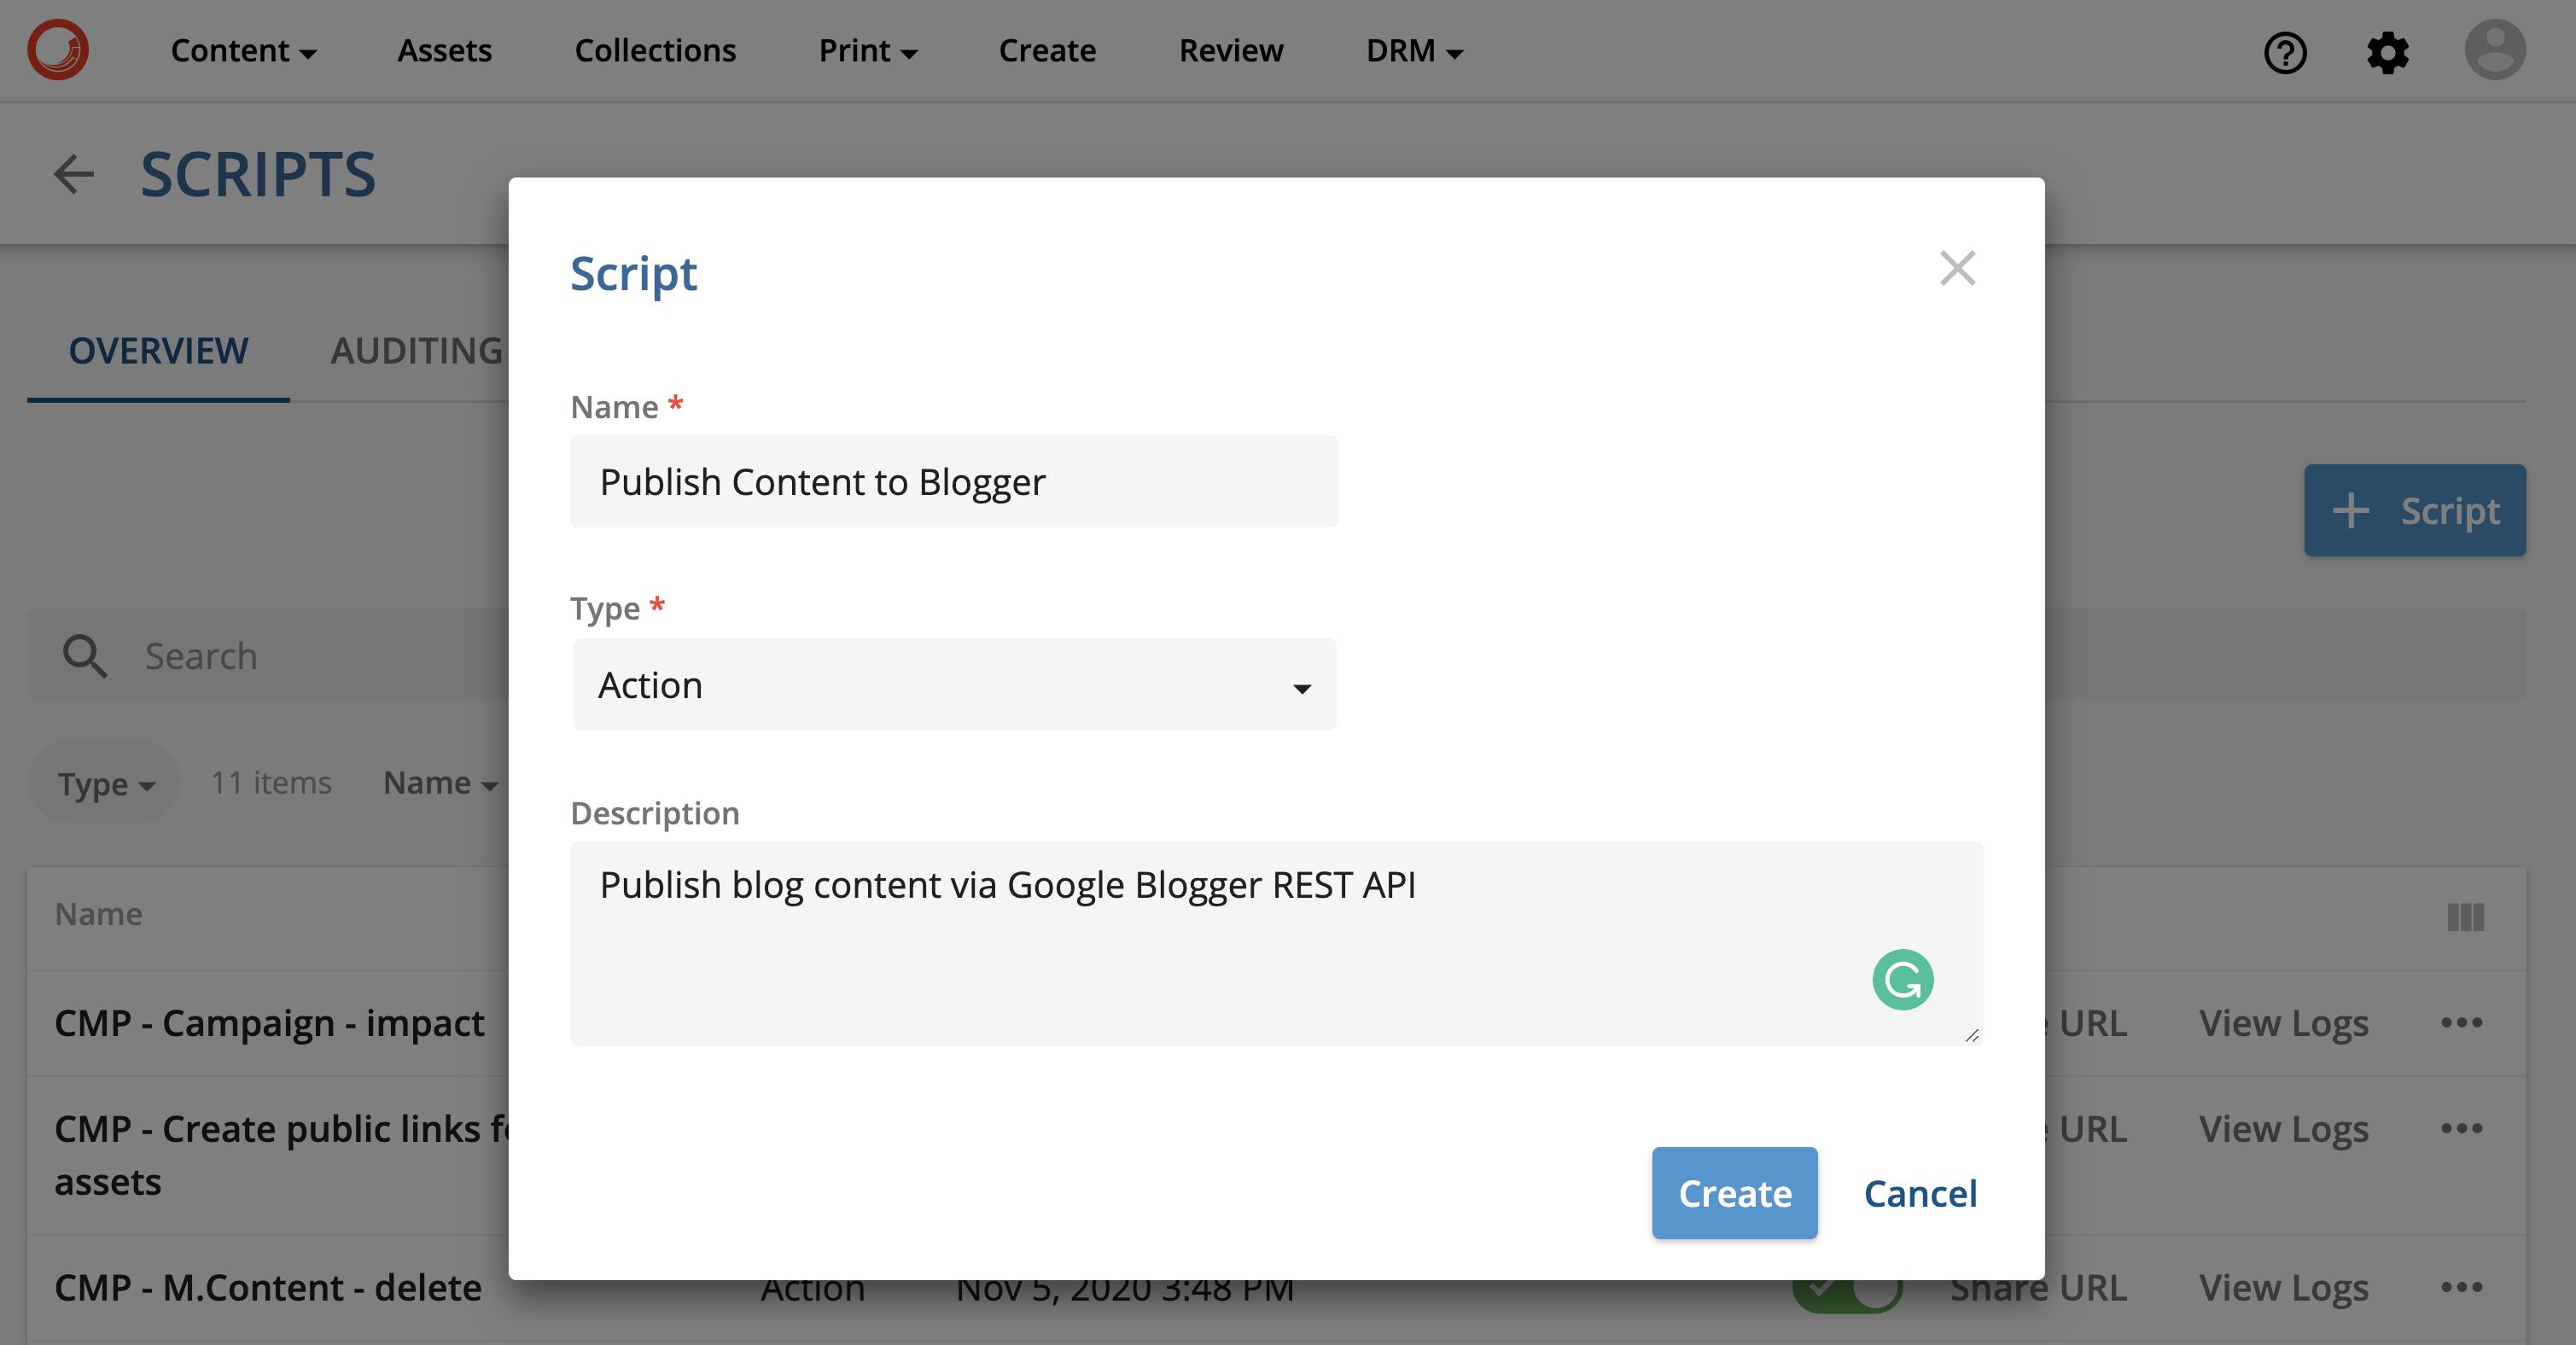
Content Hub Scripts allow executing custom code functions written in .NET code. These Scripts can reference .NET namespaces and NuGet packages. From the Content Hub admin page navigate to Scripts, create a new one, choose type "Action" then click "Create"
Select newly created script to navigate to its details page, click on "Edit" and paste the following code (note the authorization header value need to be populated with your authentication token value)
using Stylelabs.M.Sdk;
using System.Net;
using System.Net.Http;
using System.Text;
using Newtonsoft.Json;
using System.IO;
public class BlogPost

{
    public string kind {get;set;}
    public string title {get;set;}
    public string content {get;set;}
}
var contextEntity = Context.Target as IEntity;

var blogPost = new BlogPost
{
    kind = $"blogger#post",
    title = contextEntity.GetPropertyValue("Blog_Title").ToString(),
    content = contextEntity.GetPropertyValue("Blog_Body").ToString()
};

MClient.Logger.Info($"published entity ID: {contextEntity.Id}. Blog Title: {blogPost.title}, Blog Body: {blogPost.content}");

var baseAddress = "http://www.example.com/1.0/service/action";
var http = (HttpWebRequest)WebRequest.Create(new Uri(baseAddress));
http.Accept = "application/json";
http.Headers["Authorization"] = "{{YOUR OAUTH AUTHENTICATION TOKEN}}";
http.ContentType = "application/json";
http.Method = "POST";

string parsedContent = JsonConvert.SerializeObject(blogPost);
ASCIIEncoding encoding = new ASCIIEncoding();
Byte[] bytes = encoding.GetBytes(parsedContent);
Stream newStream = http.GetRequestStream();
newStream.Write(bytes, 0, bytes.Length);
newStream.Close();
var response = http.GetResponse();
var stream = response.GetResponseStream();
var sr = new StreamReader(stream);
var content = sr.ReadToEnd();
Action
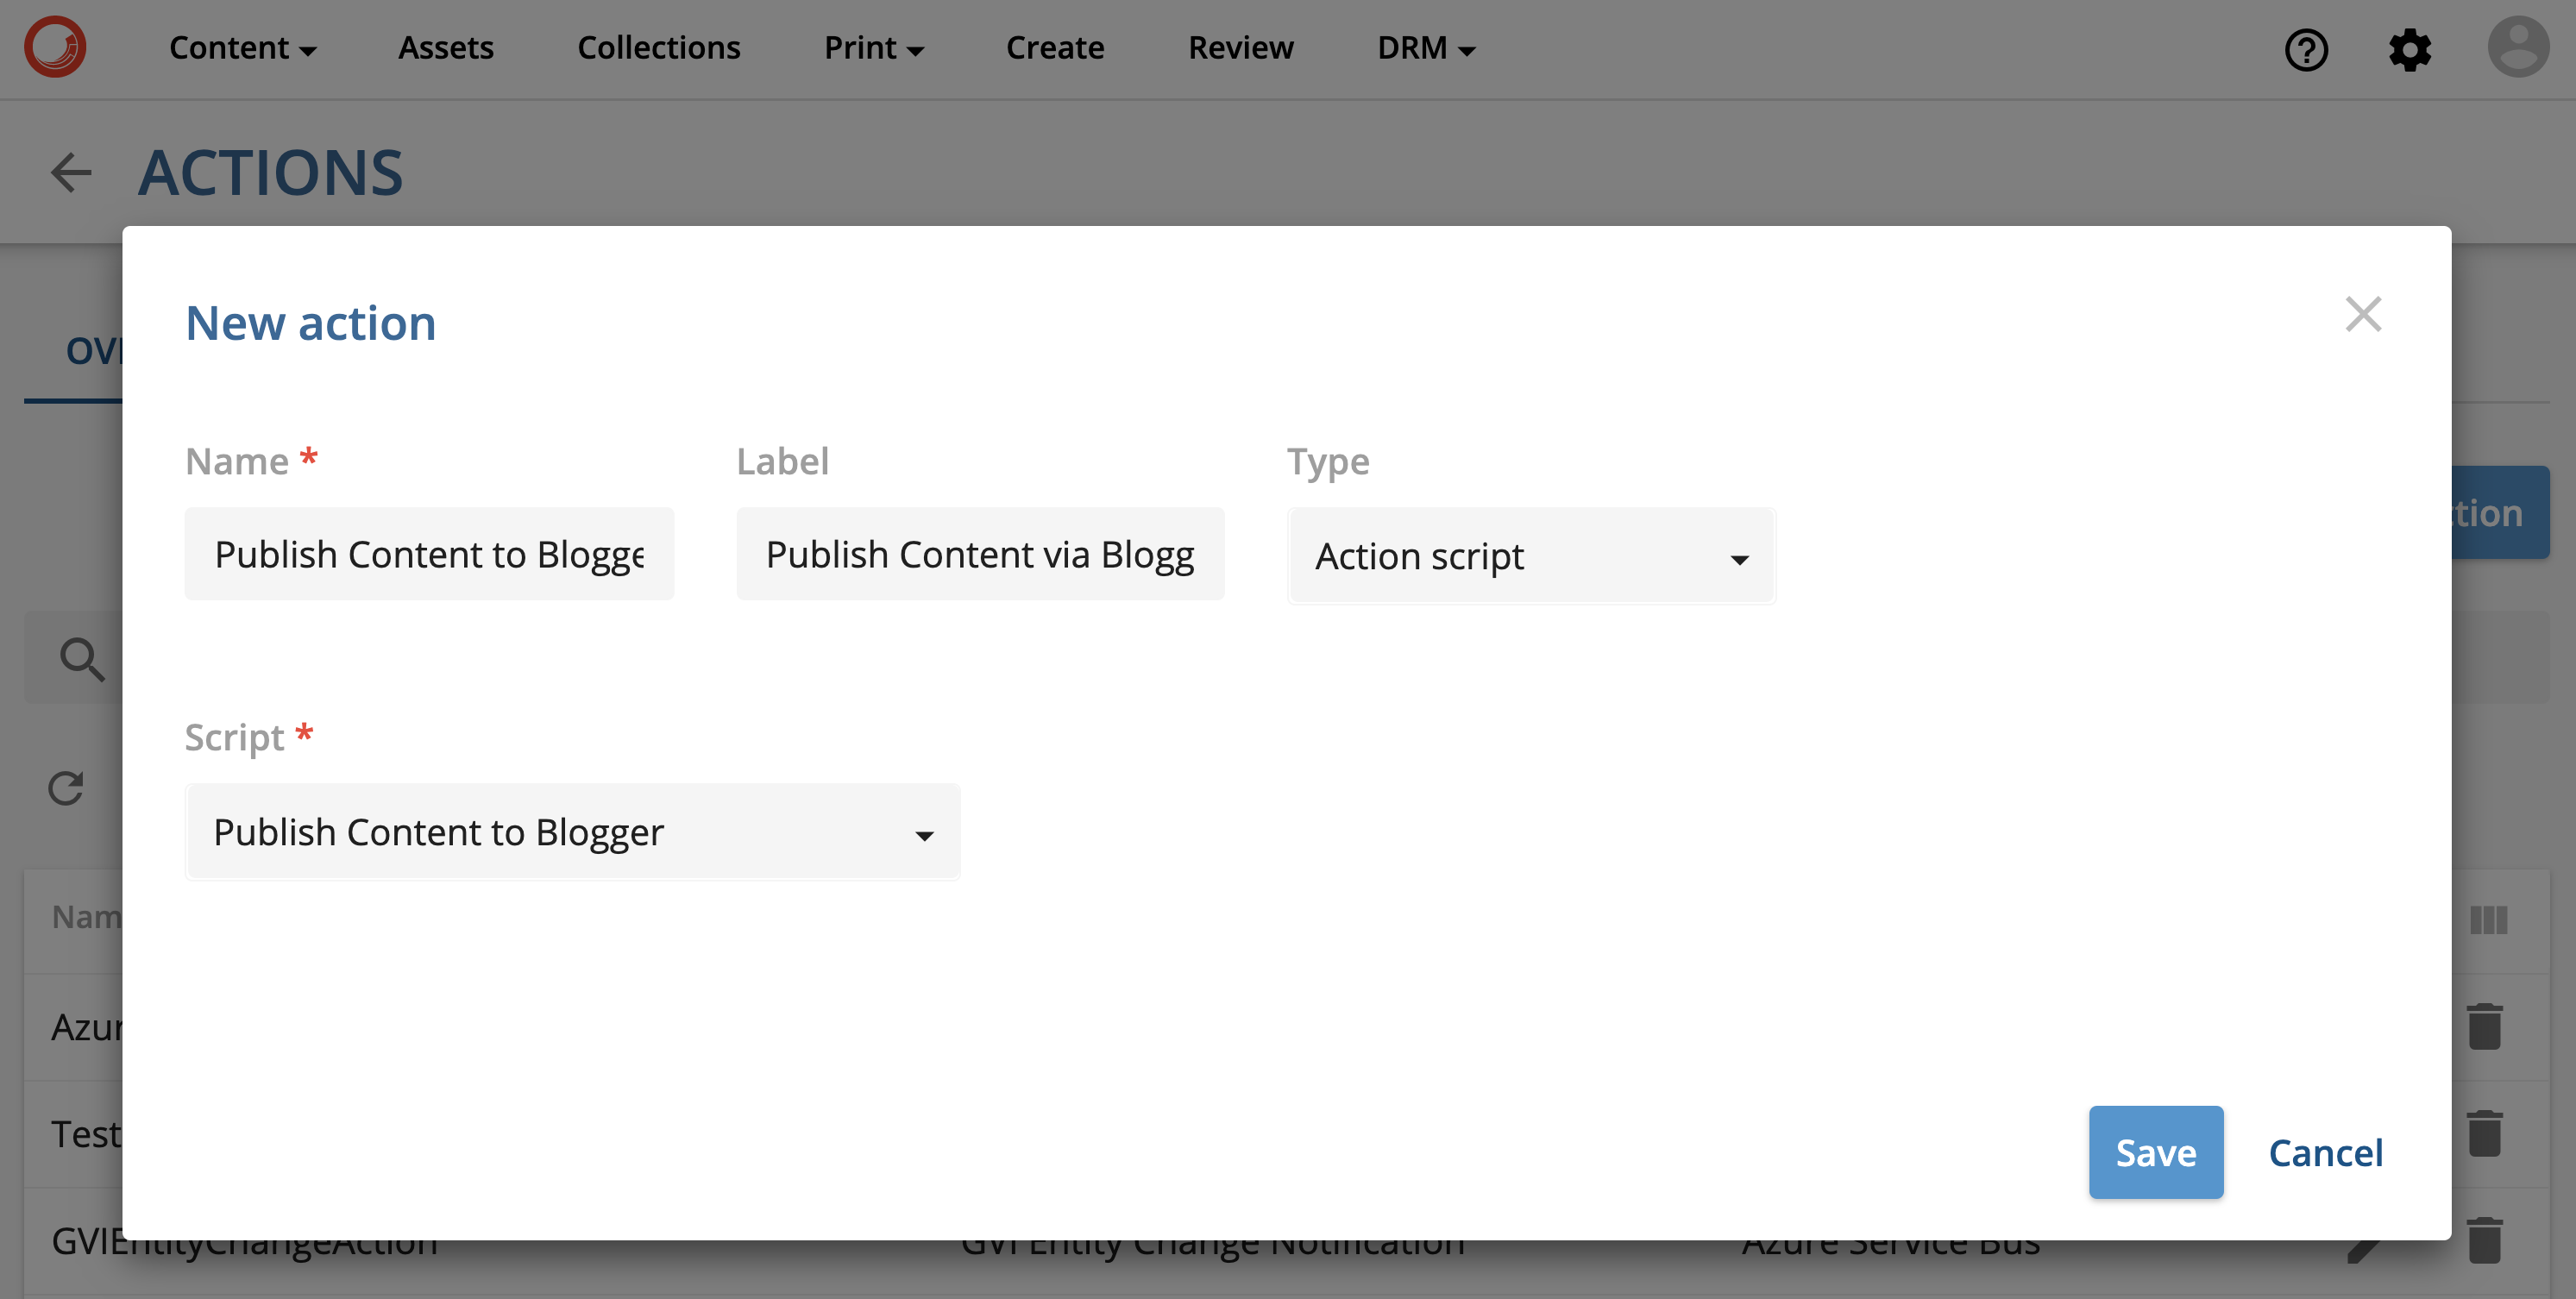
From the Content Hub Admin page navigate to Actions, click on "New Action" and populate it like so:
Trigger
As per Sitecore Content Hub documentation: Sitecore Content Hub provides users with a Trigger framework, which allows them to configure triggers via the User Interface (UI). A trigger is a set of actions that are automatically executed after specific events and under specific conditions.
A trigger consists of 3 components:
- Event: The event to which the trigger should react.
- Conditions: The conditions under which the trigger's actions are executed.
- Actions: The actions that the trigger executes.
Head to the Admin page, select triggers, and click "New Trigger". Below screenshots show how Event, Condition, and Actions can be configured to send messages about M.Content changes using above created Service Bus and Content Hub Action
-
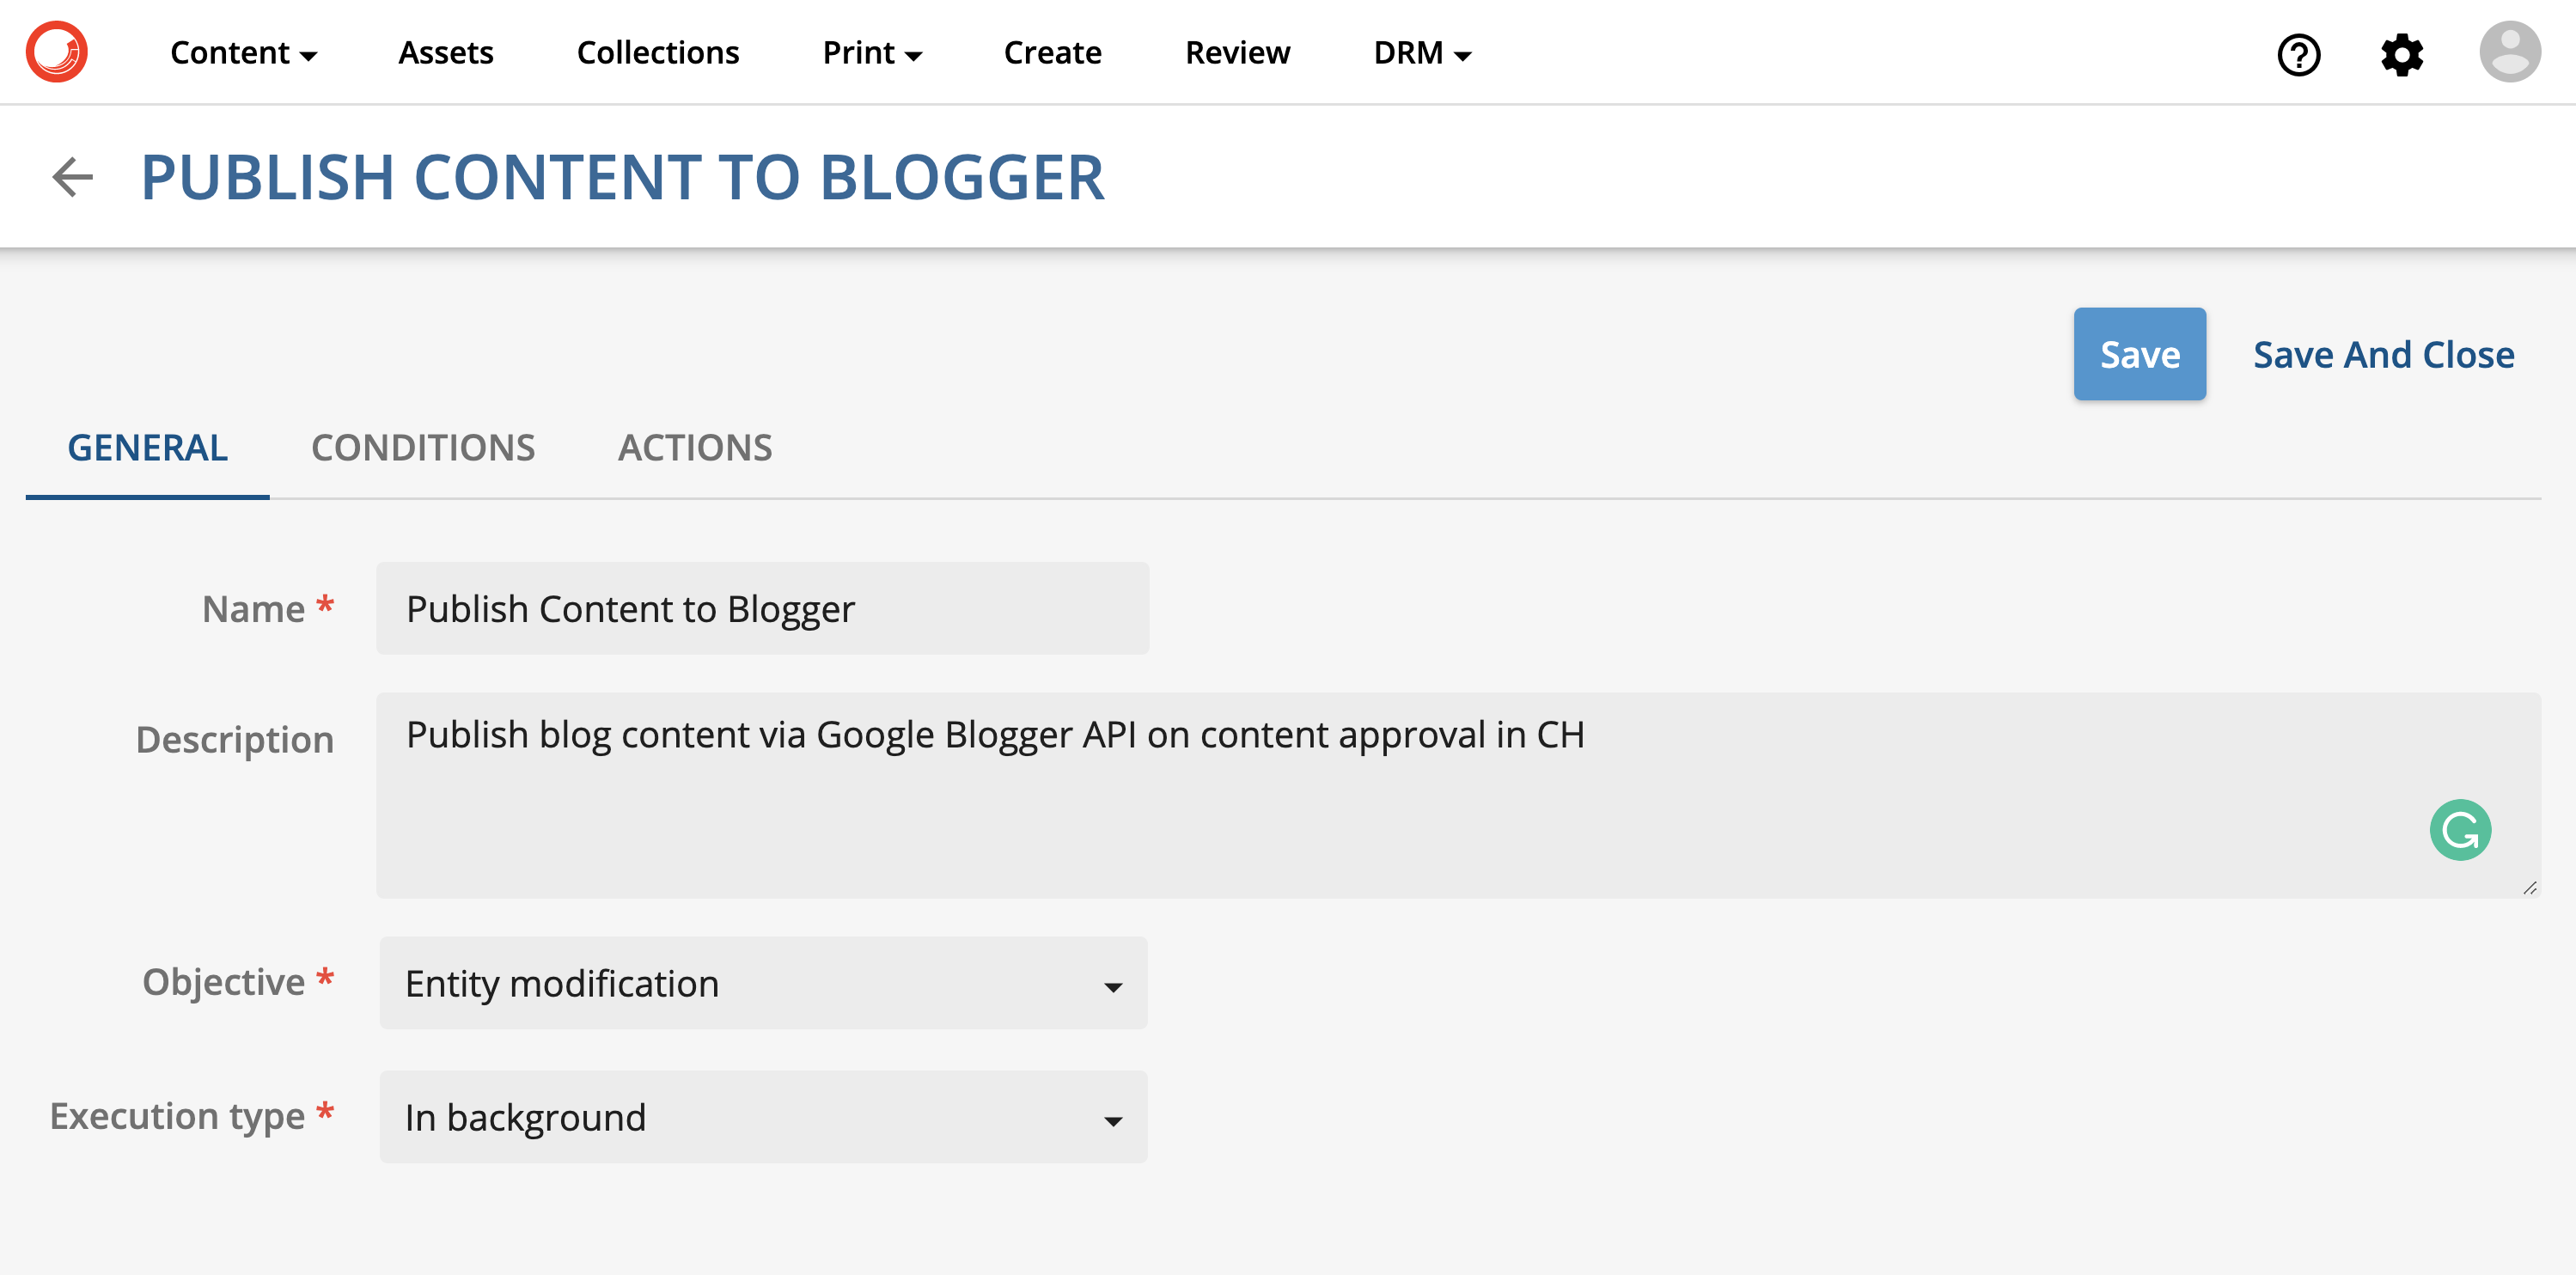
General tab defining the trigger to be run on entity create, update, and delete. Execution type set to "In background", which is recommended in most cases to avoid trigger event interfering with the actual process and affecting its performance.
-
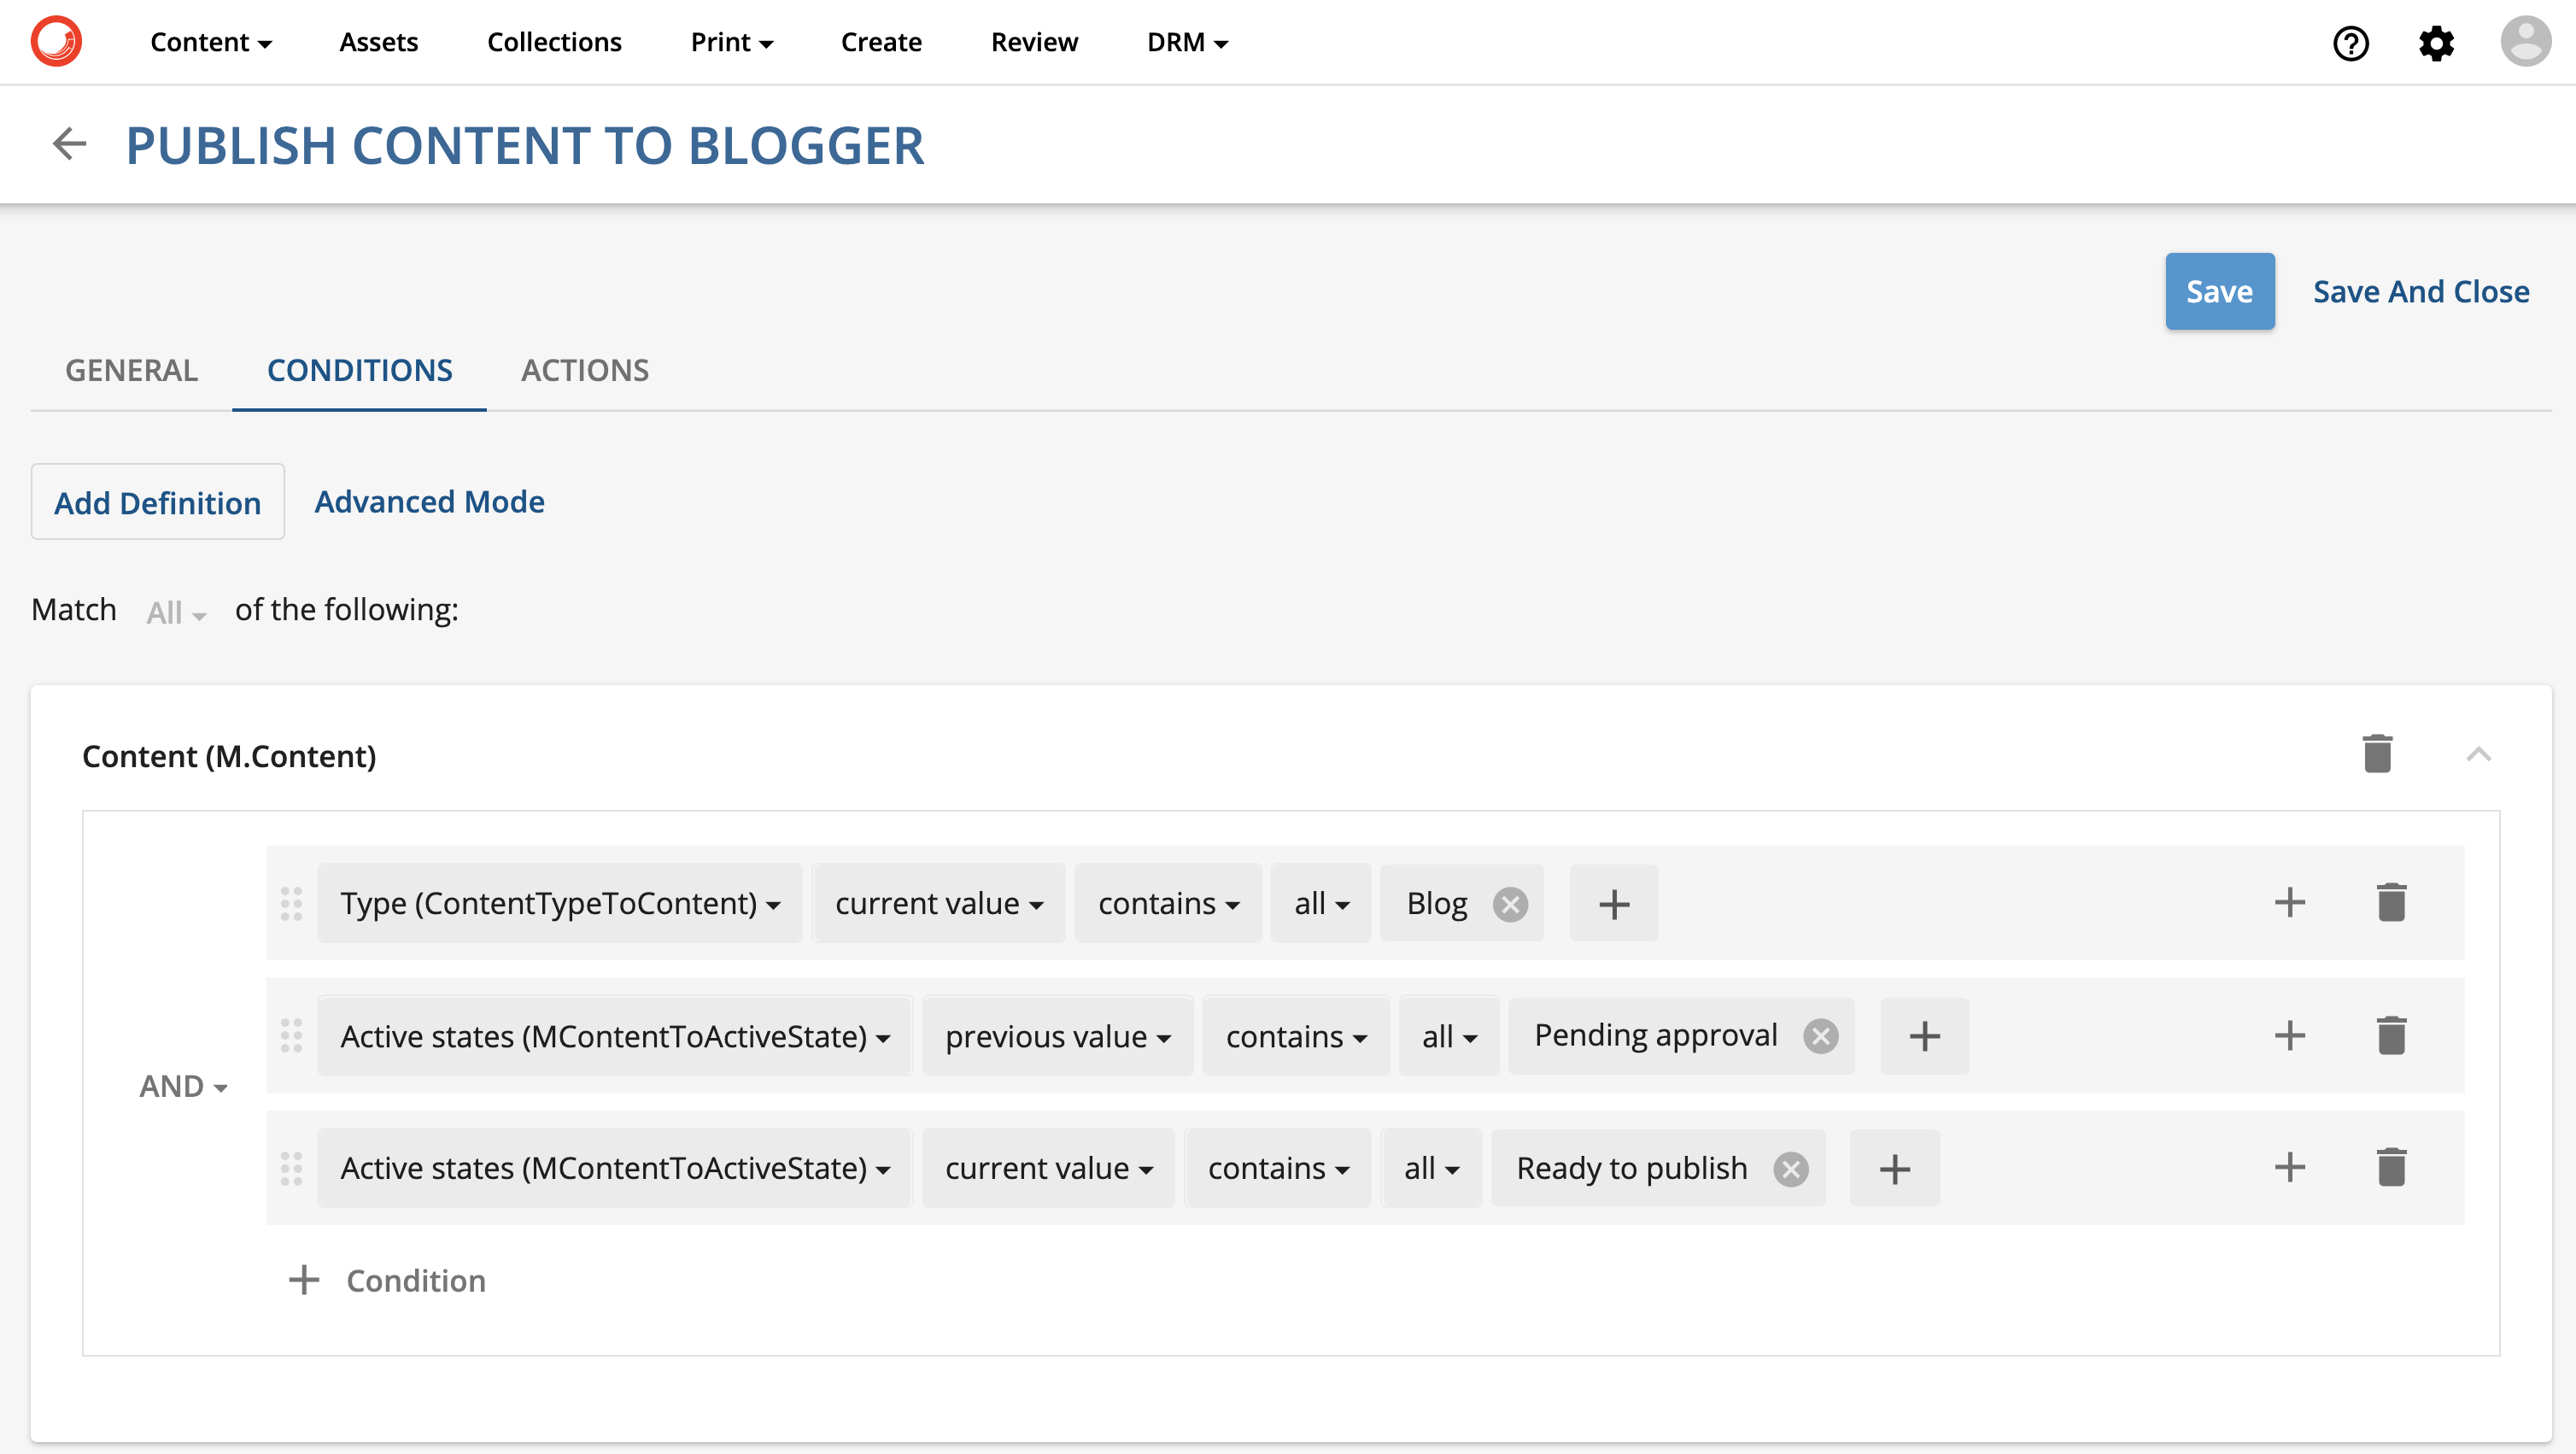
Conditions tab, in this case, specifies that the trigger will only fire when the entity type is M.Content and its "Content Type" property is "Blog". Note how on below screenshot trigger is configured to only fire when M.ContentActiveState property of an affected entity is going from "Pending Approval" to "Ready to Publish", which means Content had been approved (and so it's ready to be sent to consuming parties). Without the last two conditions, every blog change would be pushed to Google Blogger API, which would be fine if Content Hub approval workflow needs to be ignored, so every change to affected entity is getting pushed to consumers.
-
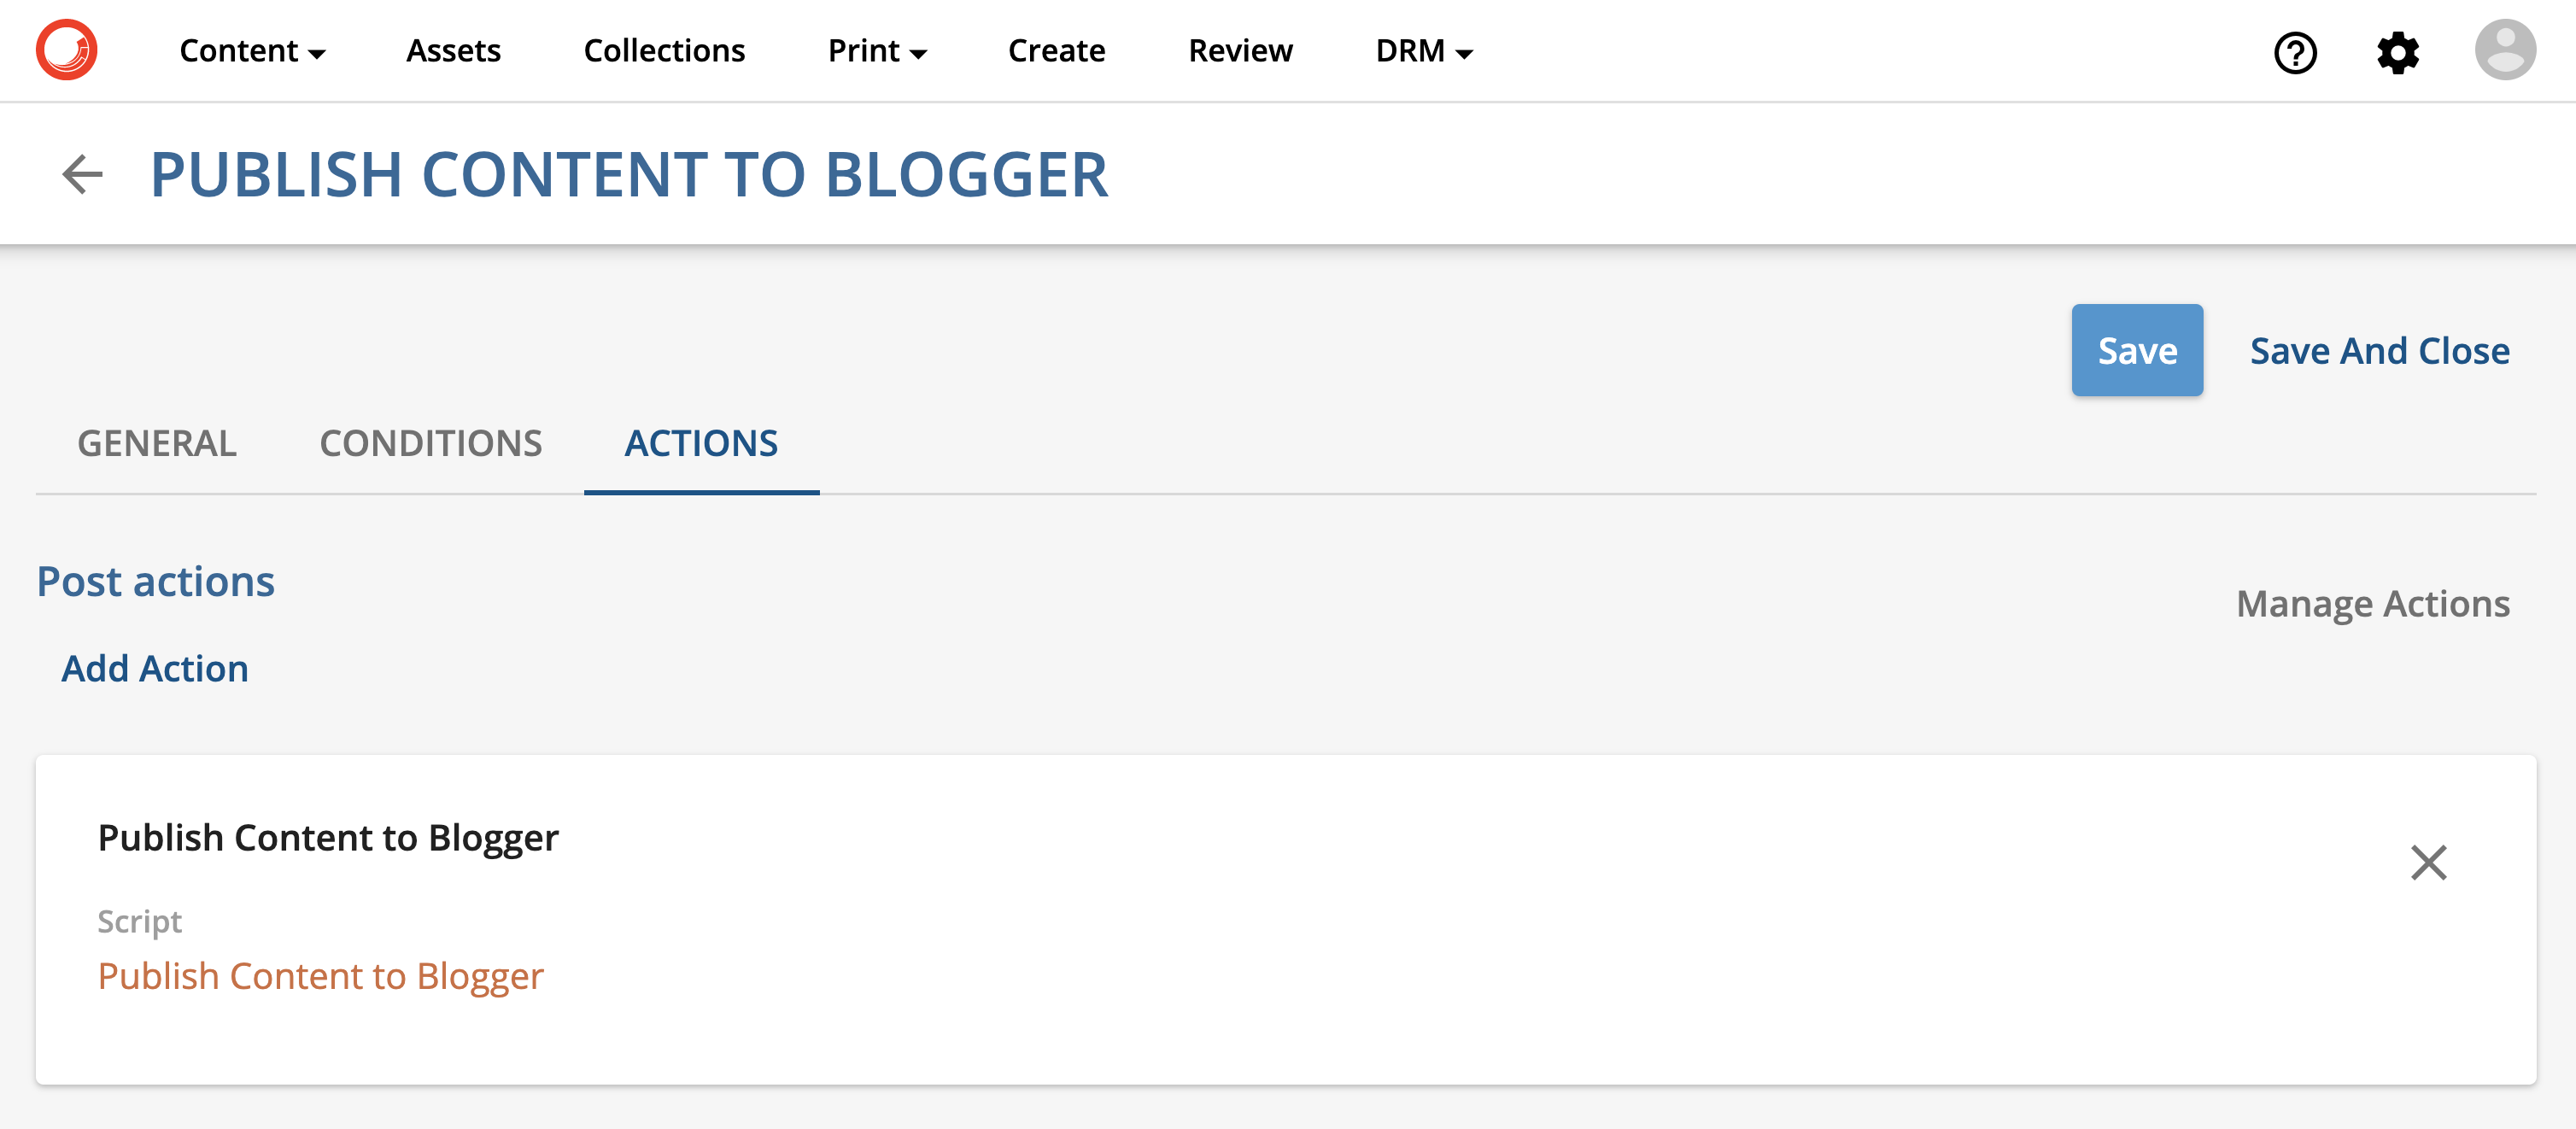
And finally, the Action to execute is the one we created on previous steps (it's added via the "Add Action" link). Note that we're not limited to just one action, Content Hub can be configured to execute multiple actions in the same trigger, e.g. send message to Azure Service Bus and then send a notification email to admin users. This blog post describes how to send emails from Content Hub programmatically.
Create Blog Content in the Content Hub
-
Use Content -> Menu item on the top menu to navigate to Content management page and click "+ Content" to create a new item
-
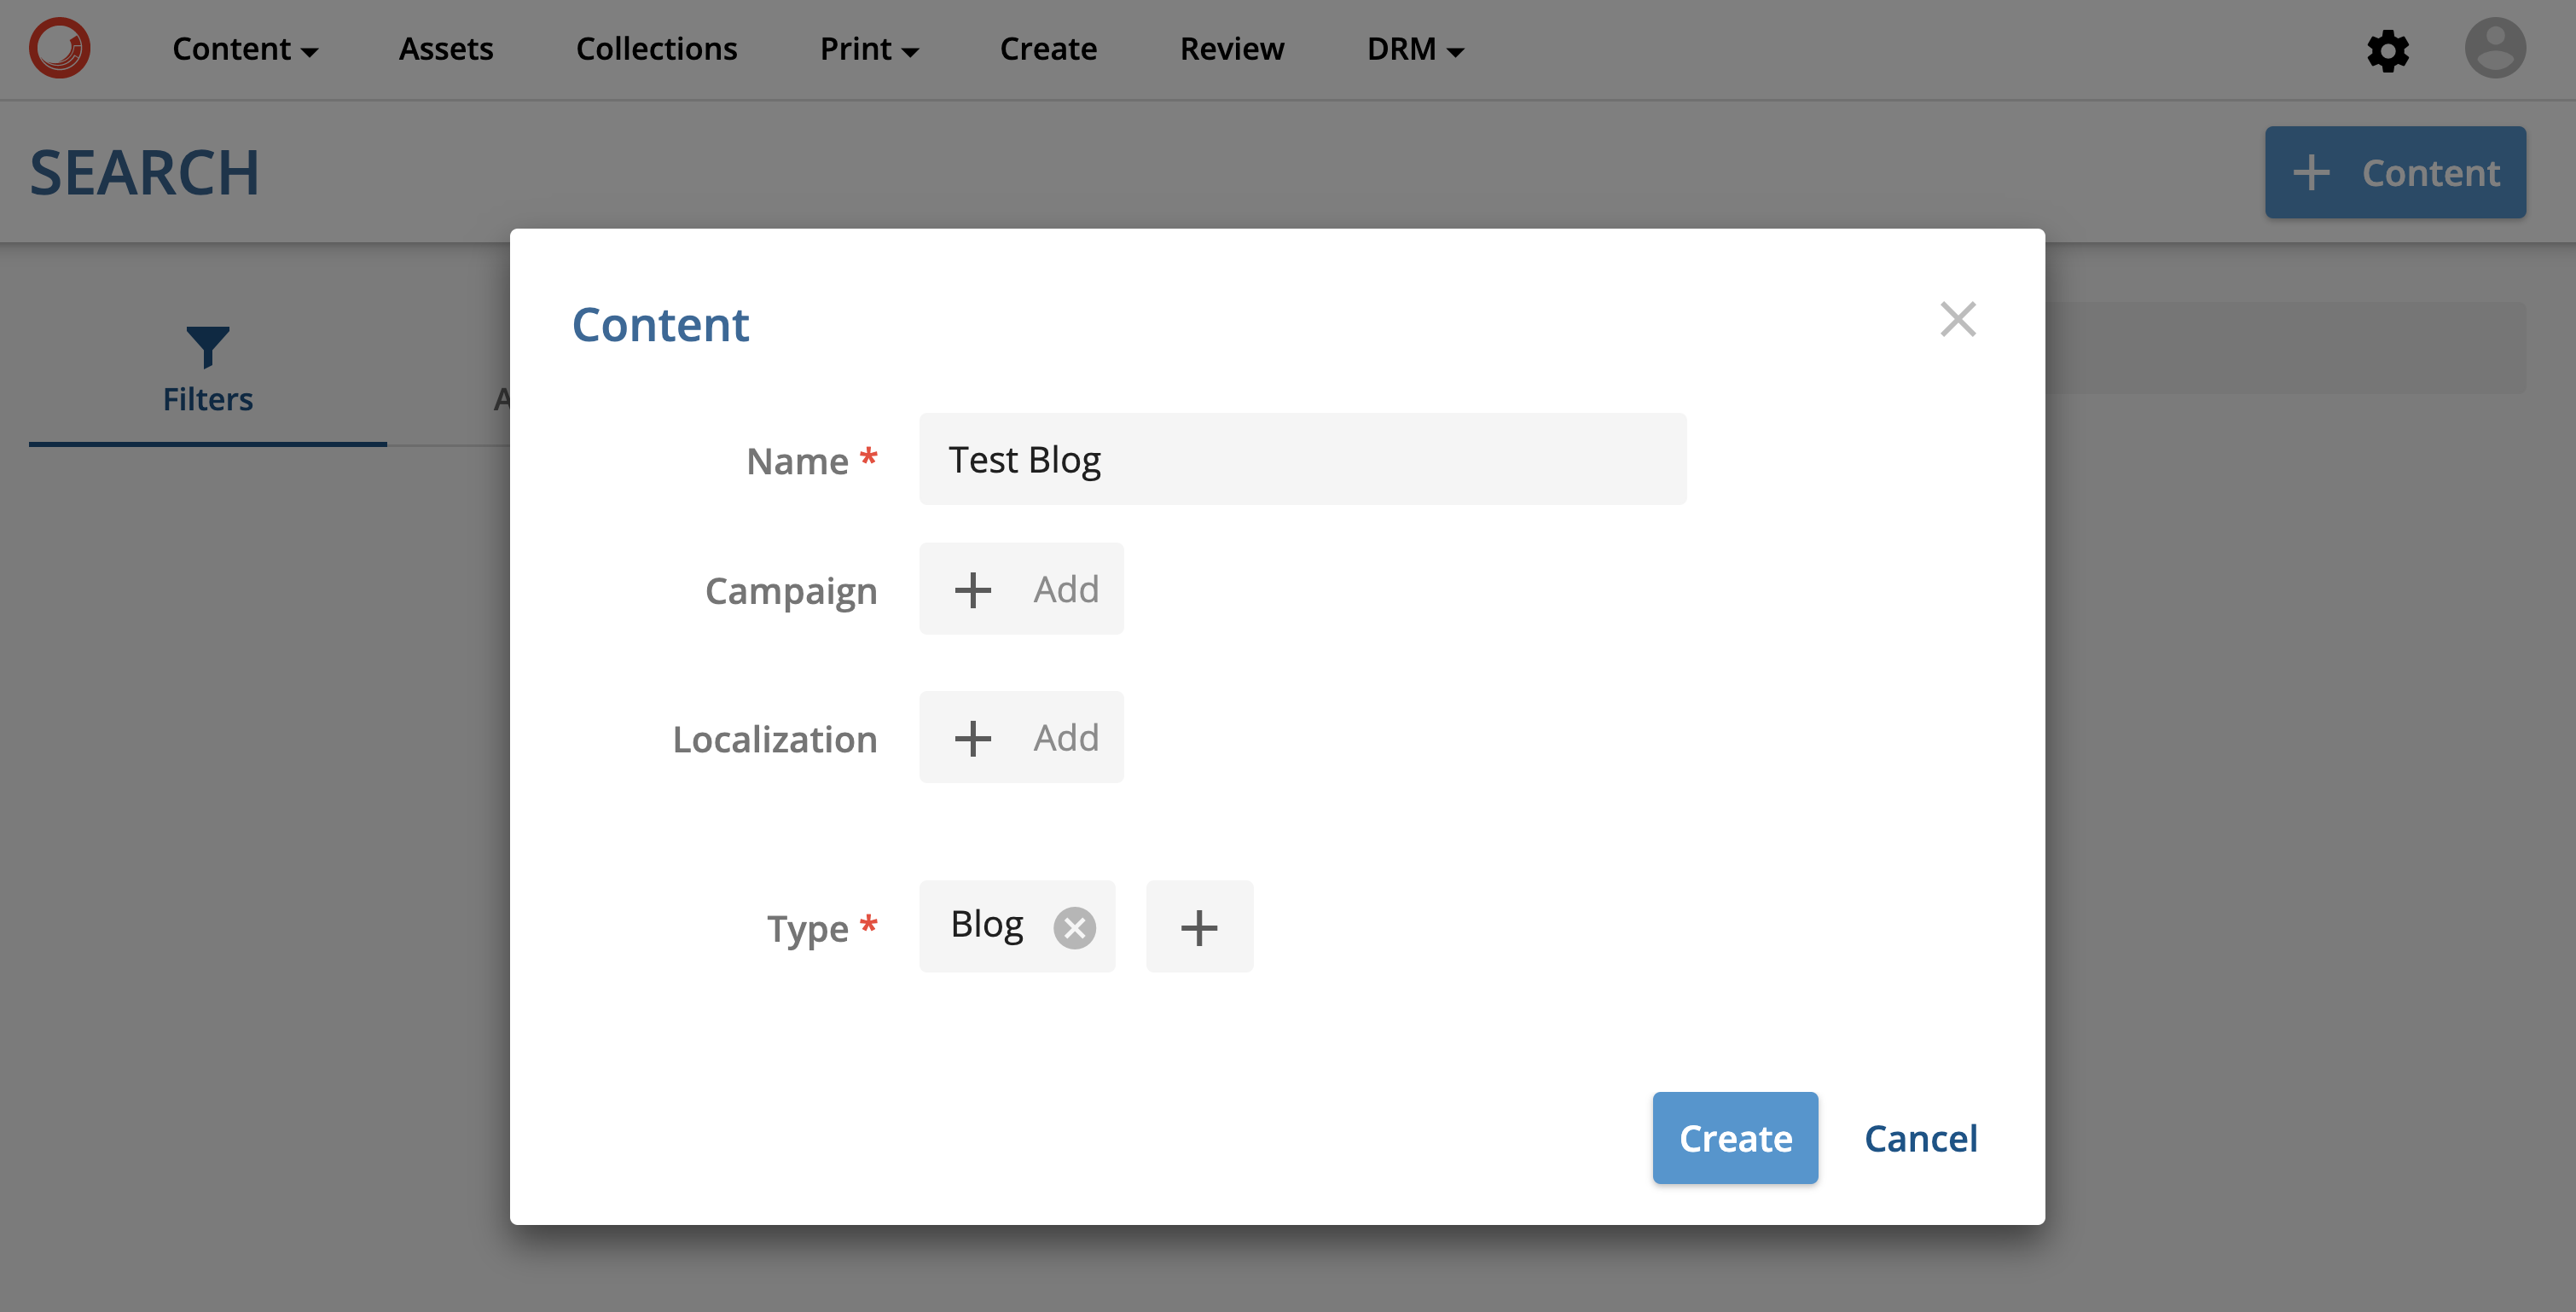
Click the "+ Content" link on the top-right part of the screen then populate Name as needed and choose "Blog" as its type. Click "Create"
-
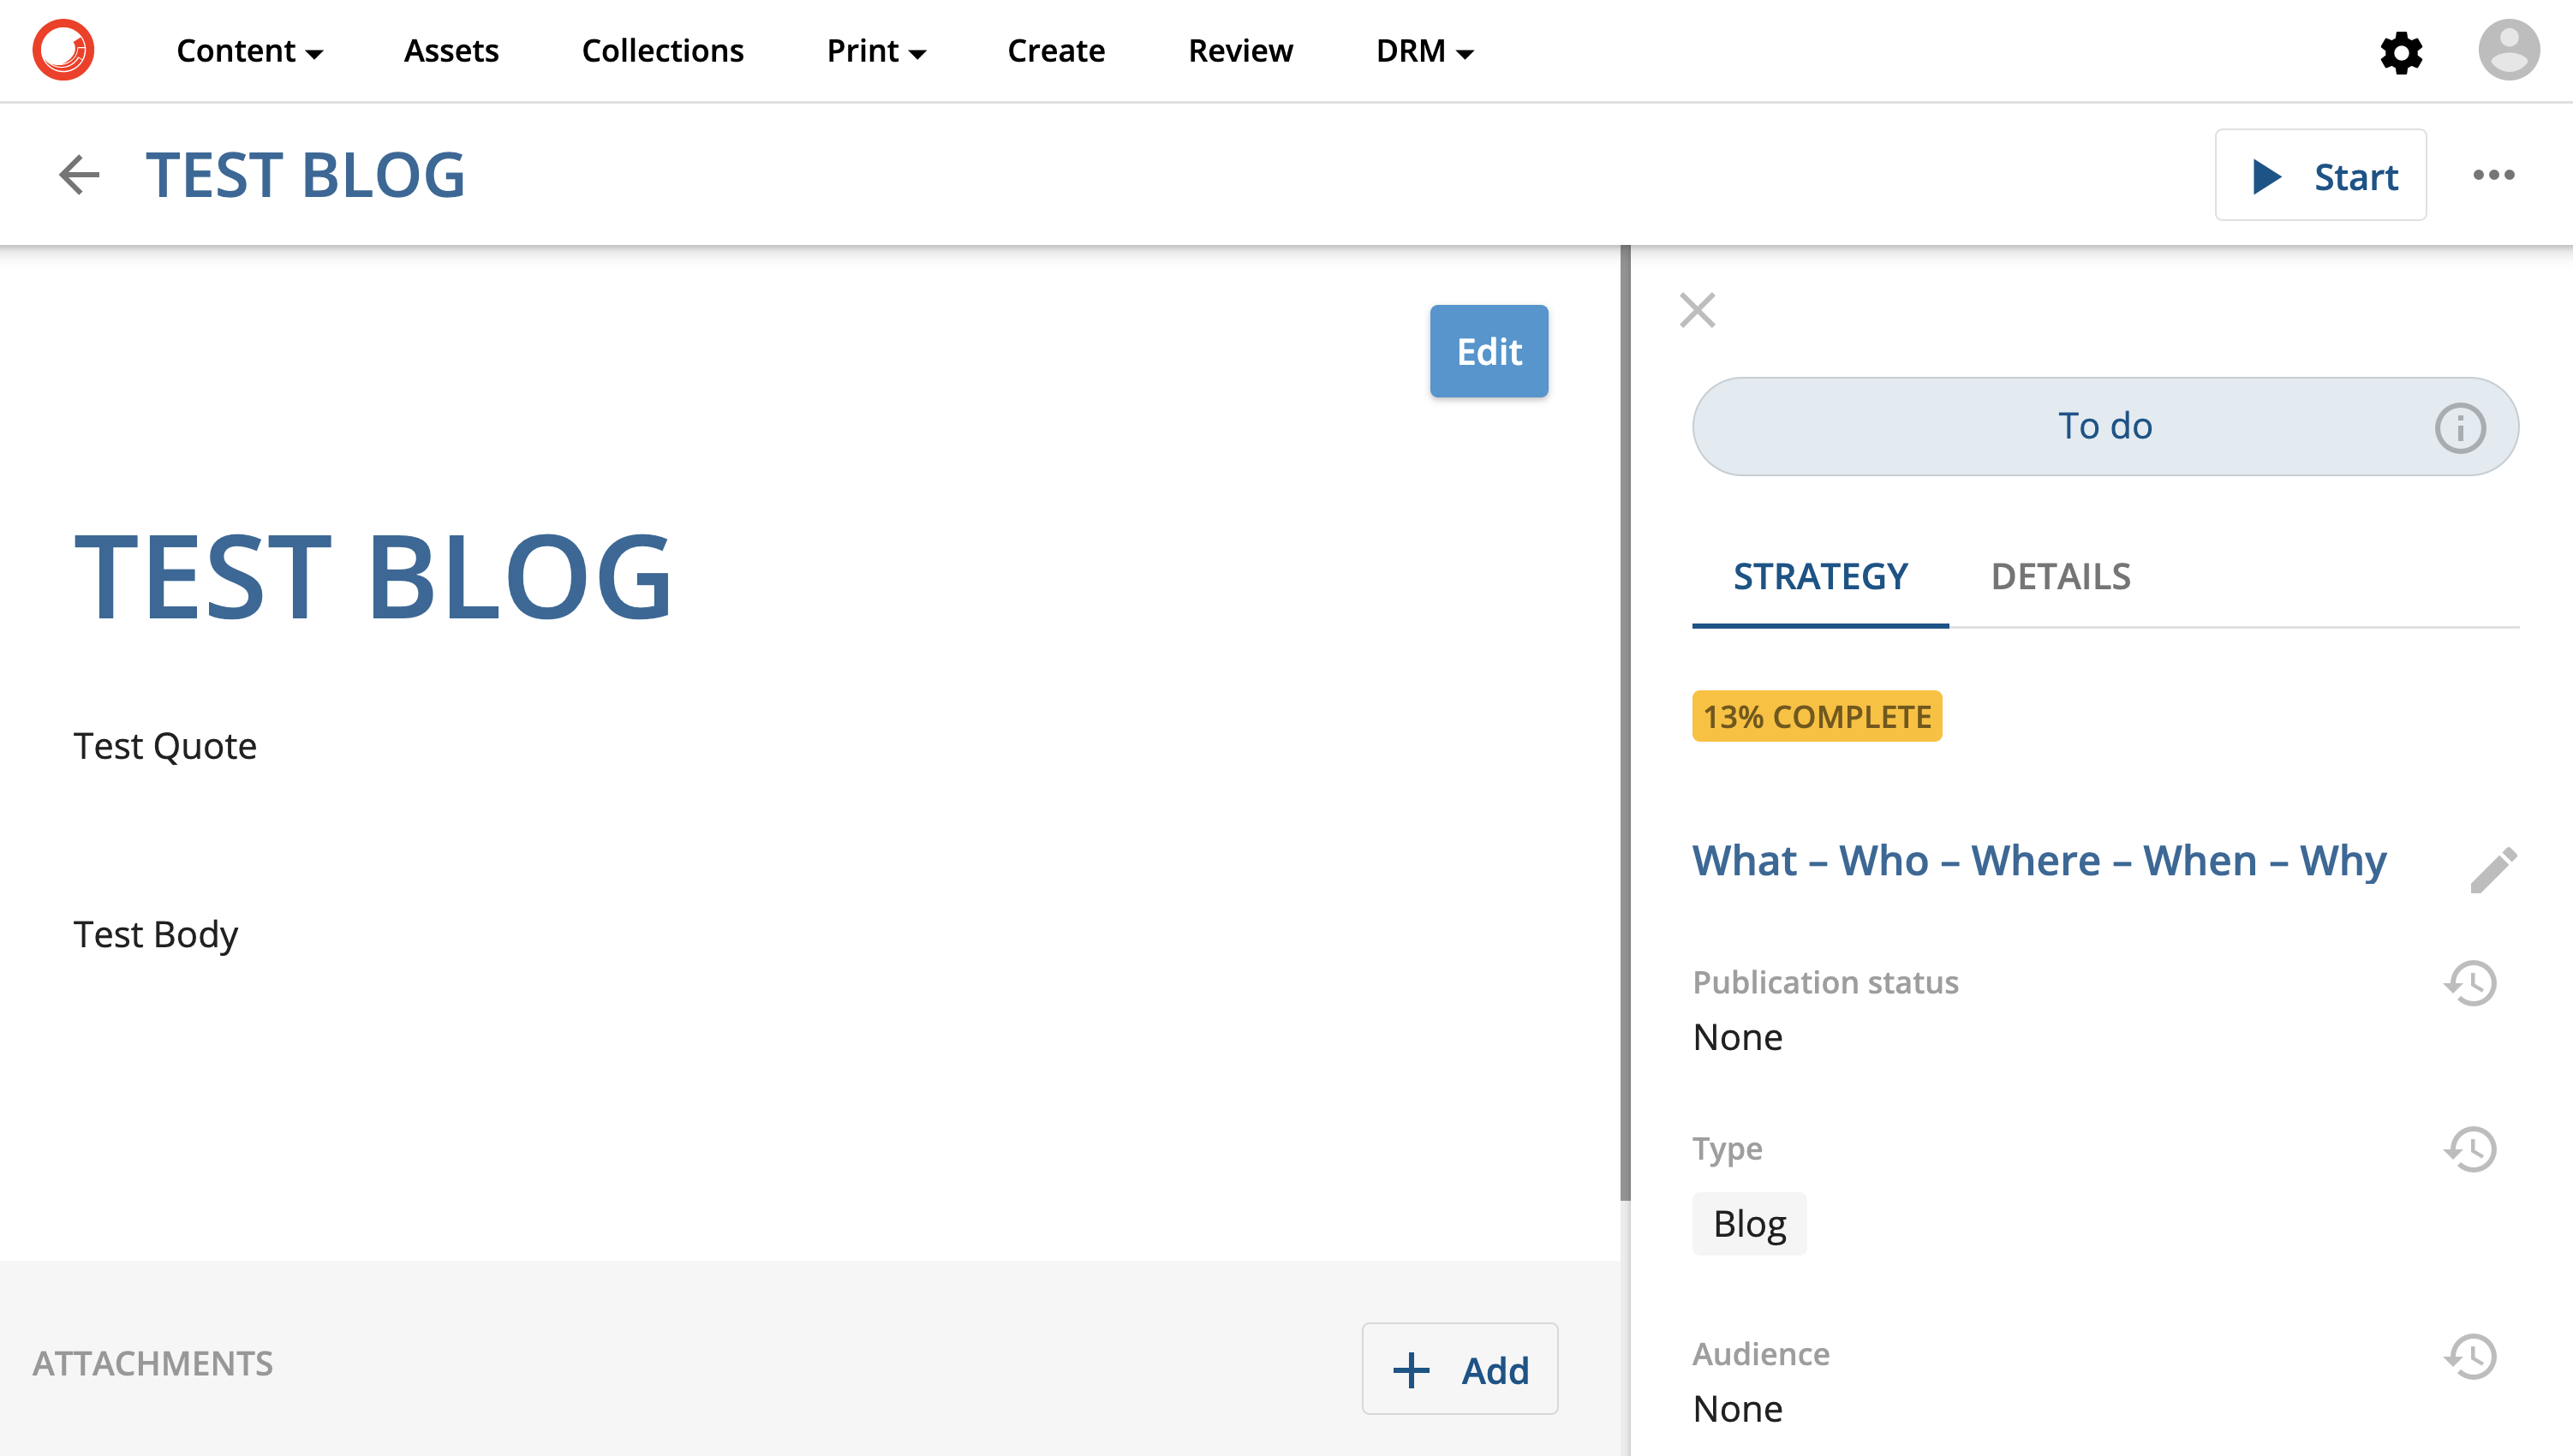
Click on a newly created Blog entry to navigate to its details page, click "Edit" and Populate its Title, Quote, and Body fields, click "Save"
-
Start the approval process by clicking "Start" on the top-right side of the window
-
Complete content approval steps (click "Send for Review", then "Approve" and "Confirm")

Check back on Google Blogger
If everything worked right, then a new blog post should appear on your Blogger account